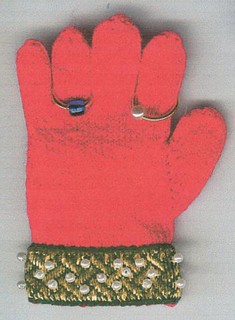
I teach a class on historical rosaries a couple of times a year -- and actually I'll be teaching a slightly adapted version at the Renaissance Symposium in San Jose, California on January 23rd.
All the classes start the same, with a focus on my "study collection" of replicas and a few modern pieces. I basically give a rundown of rosary history as we currently know it, illustrating it with my study pieces, which everyone in the class gets to examine and fondle.
That is, in fact, one of the main reasons I set out to make such a collection, including as many types and styles of rosaries as possible, since I'm a great believer in "learning by touch." Nothing is better, in my opinion, for getting a "grasp" on history, and for helping people to imagine and understand what historical times were actually like, than having real artifacts they can touch and use.
For the same reason, I always include a "hands-on" section where people get to make an inexpensive, but reasonably good replica. So far I've tried three different kits for the second part of the class. I've learned that I have to stick to one type of kit per class, since there's usually only me to help a dozen or so students, and it helps if everybody is trying to do the same things.
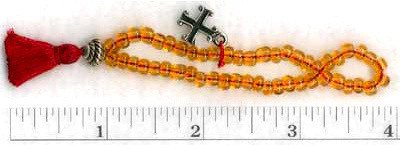
The one I always do first is a simple rosary of fifty Aves, five gauds and a cross, strung on silk. I've worked out a kit that costs about $6 to put together; I've been asking class members to give me $10 for a kit and a copy of a color handout that costs me about $3.50 a copy to produce, so I make a minimal profit.
The kit consists of these parts:
- A 16-inch string of plain round 8mm glass or bone beads. In this size, a string usually contains somewhere around 51 to 53 beads.
- Five gauds, usually in the 10mm range, of a different color, material or shape. I have a variety of colors of lobed round "melon" shaped beads, "double cone" shaped beads, long oval bone beads, pierced wood beads, and occasionally ceramic or horn (though at the moment most ceramic beads seem to come with non-historical smiley faces or flowers painted on them).
- About two yards of silk thread and a "medium-large" sized twisted wire beading needle. The best silk thread I've found is Gutermann size F or FF, but I also have some "Gemstone" 2/5 thread from Halcyon Yarn, which I don't like as well because it doesn't seem to be quite as strong. It's also fuzzier. I like the twisted-wire needles because they have an eye that's easy to thread, but "collapses" nicely to fit through small bead holes.
- One standard base-metal "clamshell" finding to hold the closing knots for the strand. I show people how to glue their knots, but I never trust knots unless they are also contained in some sort of crimp or metal bead, and these seem to be reasonably presentable-looking. I've never seen anything like them on a period rosary -- or rather, only on pieces that I know have been re-strung in modern times.
- A base-metal cross, usually between 1+1/2 and 2+1/2 inches long.
I make up these kits in color combinations that seem good to me, and tell people to pick a kit where they like at least the main color. Then I give them the choice of trading parts if they want different gauds or (as occasionally happens) something other than a cross for the end. I keep in my "kit box" little packages of gauds in different colors and shapes, an assortment of "celtic knot" and other pendants, and I also let people pick a little cheap charm or two out of the box if they like. (I bought a lot of aluminum "milagros" awhile back, some of which look remarkably like period "votive" charms -- heads, arms, legs, hearts, etc.)
Labels: Instructions
